Disclaimer

Please, proceed carefully following the tips published in this blog, specially when Main Power is involved. I'm not responsible for any damages caused by what is written in this blog.
Thank you
Showing posts with label energy consumption. Show all posts

Monday, 24 December 2018

Home Automation System - Let's continue with packages


I'm back...after a lot of time spent at work.

Step by step, I'll reach my goals...no need for hurry...it's a hobby!

Today's target is the packaging of photovoltaic production and basement consumption monitoring system

Here you can find my previous post about it...

http://domoticsduino.blogspot.com/2018/10/home-automation-system-two-pzem-004t.html

As you can see in the following image, it's a mess...and high voltage wires (220v) and PZEM-004T are not safe!


Now finally I'm pretty sure that this monitorin system works well...so it's time to package it, in the best manner I can afford (I'm not so good in manual jobs)😉

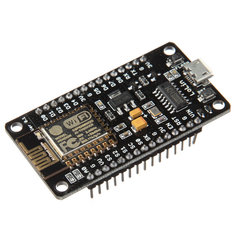
In brief, I have to arrange two PZEM-004T device and a ESP 8266 Mcu, keeping free space for wires and power.

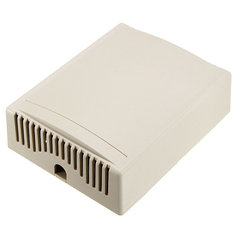
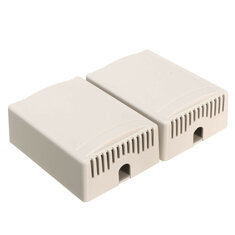
I will use two boxes:


The big one for two PZEM-004T and the small one for the ESP 8266.

To let the wires get out from the box I made some holes in the plastic (I repeat: I'm not so good in manual jobs)


Here is the two PZEM-004T on the bottom of the plastic box. They fit perfectly.


Ok, boxes closed and wires connected again. Here is the final result (a little cleaner than before...)


Next step will be to hang boxes on the wall; now they are just leaning on the wall.
-----------------------------------------------------
Similar items used in this project
-----------------------------------------------------


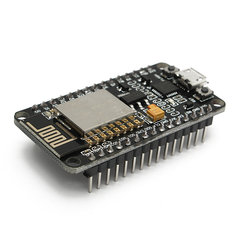
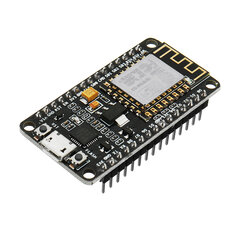
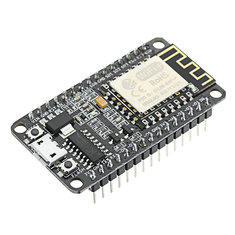
3Pcs Geekcreit® NodeMcu Lua WIFI Internet Things Development Board Based ESP8266 CP2102 Wireless Module

12,66€
Geekcreit® NodeMcu Lua WIFI Internet Things Development Board Based ESP8266 CP2102 Wireless Module

4,11€
3Pcs Geekcreit® NodeMcu Lua ESP8266 ESP-12E WIFI Development Board

13,58€
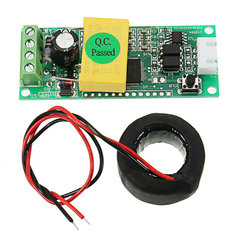
AC Digital Multifunction Meter Ammeter TTL Current Tester Module PZEM-004T With Coil 100A 80-260V

5,25€
10pcs 100 x 80 x 32mm DIY Electronic Plastic Housing Junction Box Power Supply Box Instrument Case Jig Box XL-39

11,60€
2pcs 75 x 54 x 27mm DIY Plastic Project Housing Electronic Junction Case Power Supply Box

1,73€
5Pcs KY-015 DHT11 Temperature Humidity Sensor Module For Arduino

7,67€
10Pcs DHT11 Digital Temperature Humidity Sensor Module For Arduino

9,31€

Friday, 5 October 2018

Home Automation System - Two PZEM-004T and a single ESP8266


After my successful experiments with the PZEM-004T and a Nodemcu ESP8266 aim to monitor power consumption (devices are actually working well in my ground floor power monitoring system, see https://domoticsduino.blogspot.com/2018/05/home-automation-system-energy.html), I decided to update my photovoltaic production monitoring system, actually based on a Wifi 433Mhz receiver (see https://domoticsduino.blogspot.com/2017/08/home-automation-system-mqtt-and-rf433.html).

Actual system has a problem due to an invalid read of power values when the inverter is switched off. In fact it gives me about 250W power production...

My idea is to use the same devices used for the ground floor power monitoring system...so a PZEM-004T and a Nodemcu ESP8266.

These are the devices:

NODEMCU ESP8266

PZEM-004T

Because my inverter is near the electrical panel in the garage, I decided to let the things more complicated adding another PZEM-004T to also monitor the basement consumption with the same ESP8266.

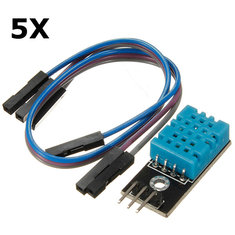
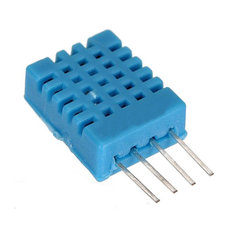
Then I added also a temperature and humidity sensor to the same circuit.

My following step was to check that a single NODEMCU ESP8266 was able to control both PZEM-004T...My tests were successful

Here is it my first PZEM-004T linked to the main output cable of the inverter...on the right you can see the DHT11, temperature and humidity sensor (it's a not so accurate sensor, but it's right for my kind of measurement...)


This is the second PZEM-004T, linked to the main cable of basement power, inside the electrical panel


Complete view:


Now it's time to write the software and test it.

I decided names for the MQTT topics and I created items and sitemap objects for OpenHAB

This is what we could see in my OpenHAB BASIC UI


Energy Consumption value is the sum of all the sensor power (2 of them are already running)
Values are different related to the previous screenshot because they continuously change


Last step: I created some charts in the Grafana dashboard


My primary target was reached: my production monitor give about 0W when the inverter is switched off

Saturday, 10 March 2018

Home Automation System - Energy consumption monitor...the first test


After a little stop, I'm going to tell you about my Home Automation System.

In particular, I would like to speak about some test I made to build a power monitoring system.

I'm trying to build something easily integrable in OpenHAB. I need a system able to acquire data and send them to OpenHAB, to be remotely accessible and use them to trigger alarms and notifications.

I need a little device which can be plugged in some junction box...

Looking for it on internet I found the Eastron sdm120c Modbus...


A nice product which can be query through its RS485 serial interface to fetch data about energy consumption (voltage, current, power, etc etc). It can be easily connected to an Arduino or Raspberry.

I was buying it when I found this one: PZEM-004T Energy Module, a little device with a current clamp able to get power consumption. It has a serial interface and so its data can be read by Arduino / Raspberry. It has little dimensions and it's very cheap. I bought it for 8€, shipped at home


Currently I bought only one...if my tests will be ok, I'll buy others. Mi target is to monitor home power consumption for each floor.

Now I have to choose a MCU. I would like to use a Esp8266 NodeMCU; it's a little device, has built in wifi capabilities and is very cheap! If it will not work as expected, I will use an Arduino board.

Ok, let's begin with some experiment just to see if PZEM-004T Energy Module will work. I will use an Arduino board because it's easier to plug than the ESP8266 NodeMcu

If it will work good, I'll try the ESP8266 NodeMcu.

The device needs 5V for the low-voltage side and 220v for the power line

Let's begin to plug:
  • GND and 5V from Arduino to the device;
  • serial output from the device to 2 Arduino GPIO


To test a load, I will use a simple lamp.


I downloaded a simple software for Arduino, which writes the data acquired on the serial output. Here is the output when the lamp is switched off: no current, no power:


Switch on the lamp...


and we get the power...


Perfect. It works as expected. Next step will be to use an Esp8266 NodeMCU instead of Arduino and then use MQTT tu send data to OpenHAB.