Disclaimer

Please, proceed carefully following the tips published in this blog, specially when Main Power is involved. I'm not responsible for any damages caused by what is written in this blog.
Thank you
Showing posts with label iot. Show all posts

Wednesday, 20 February 2019

Home Automation System - Let's talk to OpenHAB...


Comando Vocale, I Comandi Vocali, Ok Google, Assistente


As I said before, I'm here to speak about my test with the vocal assistant...in particular, the setup and integration of Google Home Mini with OpenHAB.

In the previous post (see https://domoticsduino.blogspot.com/2019/01/home-automation-system-welcome-to-our.html) I spoke about my recent purchases: a Google Home Mini and a Google Chromecast. Now I'm ready to integrate them in OpenHAB in order to be able to send vocal commands to my Home Automation System items.

In OpenHAB there is a nice Google Assistant integration plugin. Its setup is easy as follow the online documentation - https://www.openhab.org/docs/ecosystem/google-assistant/

In particular, this plugin use the OpenHAB cloud connector with myOpenHAB service; these are good facilities to expose local OpenHAB installation over the internet in a secure manner; in this way OpenHAB is able to integrate external services, just like our Google Assistant.


Icona, Sociale, Networking, Presentazione, Multimedia

After the initial setup, we have to tag the items we would like to drive through Google Assistant...For this purpose we will use the OpenHAB tags, a sort of keywords used by several addons (see https://www.openhab.org/docs/configuration/items.html#tags)

Using these tags we could assign particular job to the items in the Google Home application; in fact, in order to be used with Google Assistant, our OpenHAB items must be integrated as compatible Google Home devices.

Currently these are the available tags:

"Lighting"
"Switchable"
"Scene"
"Outlet"
"CurrentTemperature"
"Thermostat"

You can check last version of this list using this url:


To assign a tag to an item we have two ways:

  • If item is defined in a text file then we could simply add the tag between square brakets [...]
  • If item is defined in PAPERUI, then you need to use REST API (see https://www.openhab.org/docs/configuration/restdocs.html); in particular this service: /items/{itemname}/tags/{tag}

Here is an example of a "lightingtag:


After finished with the tags assignment, you have to setup Google Home app, on our smartphone/tablet. You have to add a new device, choosing OpenHAB between the compatible devices list. Then you will be prompted to type your username and password to login to myOpenHAB service...Magically, all our tagged items will appear in Google Home. Let's assign a name to every device and we are able to use them with Google Assistant.

Now, we could say: Hey Google, turn the "device name" on / off

Every device could be added to a room in our virtual home, so we can group and use them with a single command
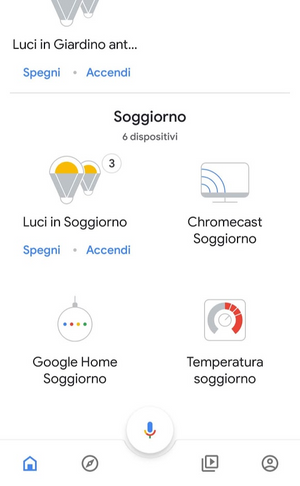

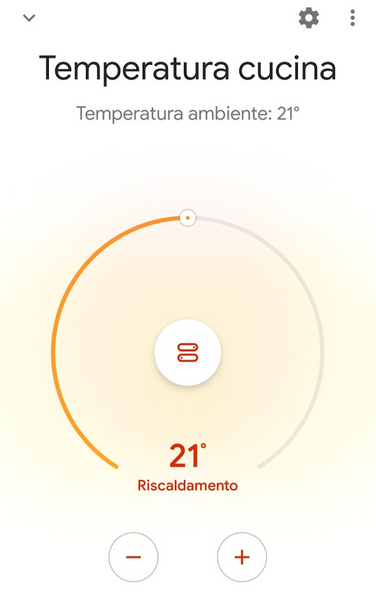
As well as sending command, we could also get devices and sensors informations. For example we could ask the room temperature.

In my example, I added the "CurrentTemperature" tag to the item related to my temperature probe in the kitchen


Google Home see it as a thermostat, so I can ask him the temperature

What if you added more tags in OpenHAB? Simply tell to Google Assistant to synchronize the devices. After some seconds, the new devices appear in Google Home.

A very interesting thing is that you can talk to Google Assistant also from the smartphone / tablet not directly connected to the local LAN where Google Home "lives". In this way you can send commands to the smartphone while you are away from home.

Monday, 24 December 2018

Home Automation System - Let's continue with packages


I'm back...after a lot of time spent at work.

Step by step, I'll reach my goals...no need for hurry...it's a hobby!

Today's target is the packaging of photovoltaic production and basement consumption monitoring system

Here you can find my previous post about it...

http://domoticsduino.blogspot.com/2018/10/home-automation-system-two-pzem-004t.html

As you can see in the following image, it's a mess...and high voltage wires (220v) and PZEM-004T are not safe!


Now finally I'm pretty sure that this monitorin system works well...so it's time to package it, in the best manner I can afford (I'm not so good in manual jobs)😉

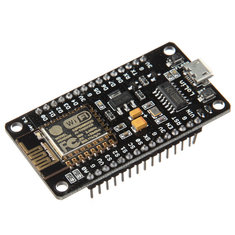
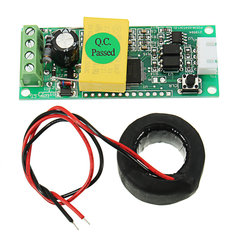
In brief, I have to arrange two PZEM-004T device and a ESP 8266 Mcu, keeping free space for wires and power.

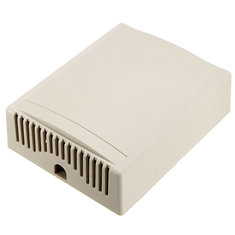
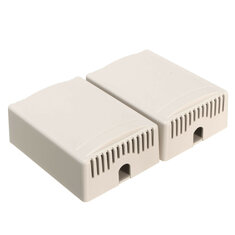
I will use two boxes:


The big one for two PZEM-004T and the small one for the ESP 8266.

To let the wires get out from the box I made some holes in the plastic (I repeat: I'm not so good in manual jobs)


Here is the two PZEM-004T on the bottom of the plastic box. They fit perfectly.


Ok, boxes closed and wires connected again. Here is the final result (a little cleaner than before...)


Next step will be to hang boxes on the wall; now they are just leaning on the wall.

-----------------------------------------------------
Similar items used in this project
-----------------------------------------------------


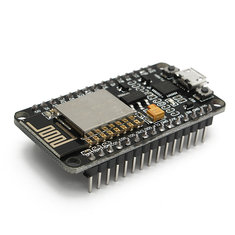
3Pcs Geekcreit® NodeMcu Lua WIFI Internet Things Development Board Based ESP8266 CP2102 Wireless Module

12,66€
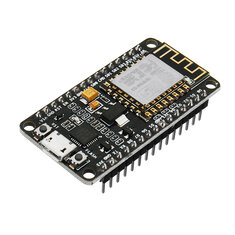
Geekcreit® NodeMcu Lua WIFI Internet Things Development Board Based ESP8266 CP2102 Wireless Module

4,11€
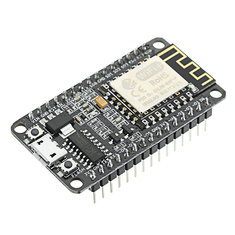
3Pcs Geekcreit® NodeMcu Lua ESP8266 ESP-12E WIFI Development Board

13,58€
AC Digital Multifunction Meter Ammeter TTL Current Tester Module PZEM-004T With Coil 100A 80-260V

5,25€
10pcs 100 x 80 x 32mm DIY Electronic Plastic Housing Junction Box Power Supply Box Instrument Case Jig Box XL-39

11,60€
2pcs 75 x 54 x 27mm DIY Plastic Project Housing Electronic Junction Case Power Supply Box

1,73€
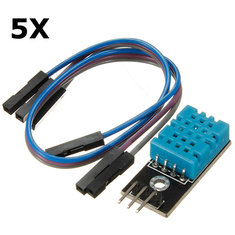
5Pcs KY-015 DHT11 Temperature Humidity Sensor Module For Arduino

7,67€
10Pcs DHT11 Digital Temperature Humidity Sensor Module For Arduino

9,31€

Friday, 26 October 2018

Home Automation System - Automating a floor lamp


Let's continue with my Home Automation System design, based on the wonderful OpenHAB

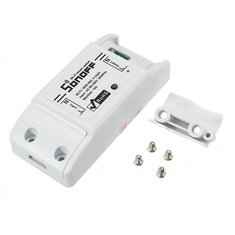
This time the main attraction is a simple floor lamp that will be trasformed in a SMART Device, using a Sonoff Basic.

These are my soldiers:


For those who don't know it, SONOFF  is a simple "wifi button", which allows you to control electrical loads remotely. The Basic version is the simplest one with a single relay.

It seems a simple job...

I will replace the standard button with the SONOFF...so, I will cut the wires to move away the button from the lamp...and plug these wires in INPUT e OUTPUT pins of the SONOFF.

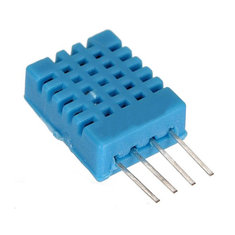
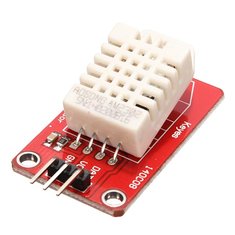
Let the things be a little more complicated: on TASMOTA (https://github.com/arendst/Sonoff-Tasmota/wiki/DHT11-Wiring---Sonoff-Basic), I learnt that it's possible to manage an humidity/temperature sensor, linked to a free pin inside the SONOFF (GPIO14). A compatible sensor is the DHT11 and, luckily, I own some of them.


This sensor has 3 pin, Vin, GND and OUT. So I link Vin and GND to the right SONOFF pins and OUT pin to the GPIO14 (always inside the sonoff)...To discover the right position of these pins, I used again the TASMOTA Wiki (https://github.com/arendst/Sonoff-Tasmota/wiki/GPIO-Locations)

Here are the wires soldered and protected by a heat-shrinking sheath


Now, I have to solder the other side of the wires to the DHT11...


Also here I used a heat-shrinking sheath ...these pins are very close


And here is the complete device...


Now I make an hole in the plastic case to let the wires get out


And here is the lamp with the SONOFF and the DHT11...


Now it's software time. Using the well known TASMOTA web interface, I selected the right sensor connected to the GPIO14.
and then I inserted the usual MQTT informations.

Back to the home page, I noticed that the data acquired by the DHT11 is displayed on top of the page


Let's configure OpenHAB defining new items and the MQTT topic used by the SONOFF...

My MQTT topic will be smarthome/light_env/%topic%/%prefix%/

Looking to the TASMOTA console, I noticed a new prefix in the topic related to the temperature and humidity information:


This will be the topic which I'll use in the items definition.

Here is the result

Basic UI


Grafana Dashboard


And this is the switch for the lamp


-----------------------------------------------------
Similar items used in this project
-----------------------------------------------------

Friday, 5 October 2018

Home Automation System - Two PZEM-004T and a single ESP8266


After my successful experiments with the PZEM-004T and a Nodemcu ESP8266 aim to monitor power consumption (devices are actually working well in my ground floor power monitoring system, see https://domoticsduino.blogspot.com/2018/05/home-automation-system-energy.html), I decided to update my photovoltaic production monitoring system, actually based on a Wifi 433Mhz receiver (see https://domoticsduino.blogspot.com/2017/08/home-automation-system-mqtt-and-rf433.html).

Actual system has a problem due to an invalid read of power values when the inverter is switched off. In fact it gives me about 250W power production...

My idea is to use the same devices used for the ground floor power monitoring system...so a PZEM-004T and a Nodemcu ESP8266.

These are the devices:

NODEMCU ESP8266

PZEM-004T

Because my inverter is near the electrical panel in the garage, I decided to let the things more complicated adding another PZEM-004T to also monitor the basement consumption with the same ESP8266.

Then I added also a temperature and humidity sensor to the same circuit.

My following step was to check that a single NODEMCU ESP8266 was able to control both PZEM-004T...My tests were successful

Here is it my first PZEM-004T linked to the main output cable of the inverter...on the right you can see the DHT11, temperature and humidity sensor (it's a not so accurate sensor, but it's right for my kind of measurement...)


This is the second PZEM-004T, linked to the main cable of basement power, inside the electrical panel


Complete view:


Now it's time to write the software and test it.

I decided names for the MQTT topics and I created items and sitemap objects for OpenHAB

This is what we could see in my OpenHAB BASIC UI


Energy Consumption value is the sum of all the sensor power (2 of them are already running)
Values are different related to the previous screenshot because they continuously change


Last step: I created some charts in the Grafana dashboard


My primary target was reached: my production monitor give about 0W when the inverter is switched off