Disclaimer

Please, proceed carefully following the tips published in this blog, specially when Main Power is involved. I'm not responsible for any damages caused by what is written in this blog.
Thank you

Saturday 30 September 2017

Home Automation System - MQTT, SONOFF and OpenHAB v. 2


It's time to integrate MQTT and OpenHAB v.2.

As already said in a previous post (http://domoticsduino.blogspot.com/2017/08/home-automation-system-sonoff-and-mqtt_19.html), actually I have a SONOFF Basic already installed which drives a garden lamp. As we already know, it's already setup with MQTT and so let's start the OpenHAB integration.

I followed step by step the Tasmota wiki, in the integration section (https://github.com/arendst/Sonoff-Tasmota/wiki/openHAB) and so, as first step, I installed some ADDONS in OpenHAB:


Now I have to setup the MQTT connection to the MQTT broker which runs on the same Raspberry PI 3 as OpenHAB 2; so I have to edit the configuration file /etc/openhab2/config/mqtt.cfg directly through the linux shell (nano or vi) or using Eclipse SmartHome Designer, an advanced text editor optimized for OpenHAB v.2 configuration files. I used it. Its setup is very simple and then it needs to know the OpenHAB configuration files path. In my case I setup a network drive (called Z) for a samba share automatically defined by the installation of openHABianPI.

In particular, the configuration parameters I edited are the following ones:

openhabianpi-mqtt.url=tcp://localhost:1883
serve and port of the MQTT broker

openhabianpi-mqtt.clientId=openhabianpi
openHAB client Id for the MQTT connection

openhabianpi-mqtt.user=openhabian
Username for the MQTT connection

openhabianpi-mqtt.pwd=XXXXXXX
Password for the MQTT connection

openhabianpi-mqtt.retain=true
Defines if the broker should retain the messages sent to it

openhabianpi-mqtt is the logical name of the MQTT connection; in OpenHAB we could have many MQTT connections and in the items configuration we use this name as reference.

If you don't make mistakes, during the OpenHAB boot you may find log messages as following:


Ok, now I will configure items and the sitemap .

So, I created a file called sonoffbasic01.items in the folder /etc/openhab2/items in which I setup my new items.

I defined a "Switch" object ("light" category) which was linked to the full topic mqtt of the SONOFF Basic 01 tasmota/garden/light/%topic%/%prefix%/. Here is the syntax:

Switch Garden_Light_1Lamp "Garden 1-Lamp"      <light>
            (gLightSwitchGarden)
            {mqtt="
                     <[openhabianpi-mqtt:tasmota/garden/light/sonoffbasic01/stat/POWER:state:default],
                     <[openhabianpi- mqtt:tasmota/garden/light/sonoffbasic01/tele/STATE:state:JSONPATH($.POWER)],
                     >[openhabianpi-mqtt:tasmota/garden/light/sonoffbasic01/cmnd/power:command:*:default]"
             }

For info about syntax of .items files please see official documentation http://docs.openhab.org/configuration/items.html

In this way I created an item called Garden_Light_1Lamp linked to MQTT messages of topic defined in the {...} block

Then, I added this new item in my sitemap . So, I edited sitemap definition file, appending the following rows:

Frame label="Lights" {

Switch     item=Garden_Light_1Lamp        label="Garden Light 1 Lamp"       icon="switch"


}

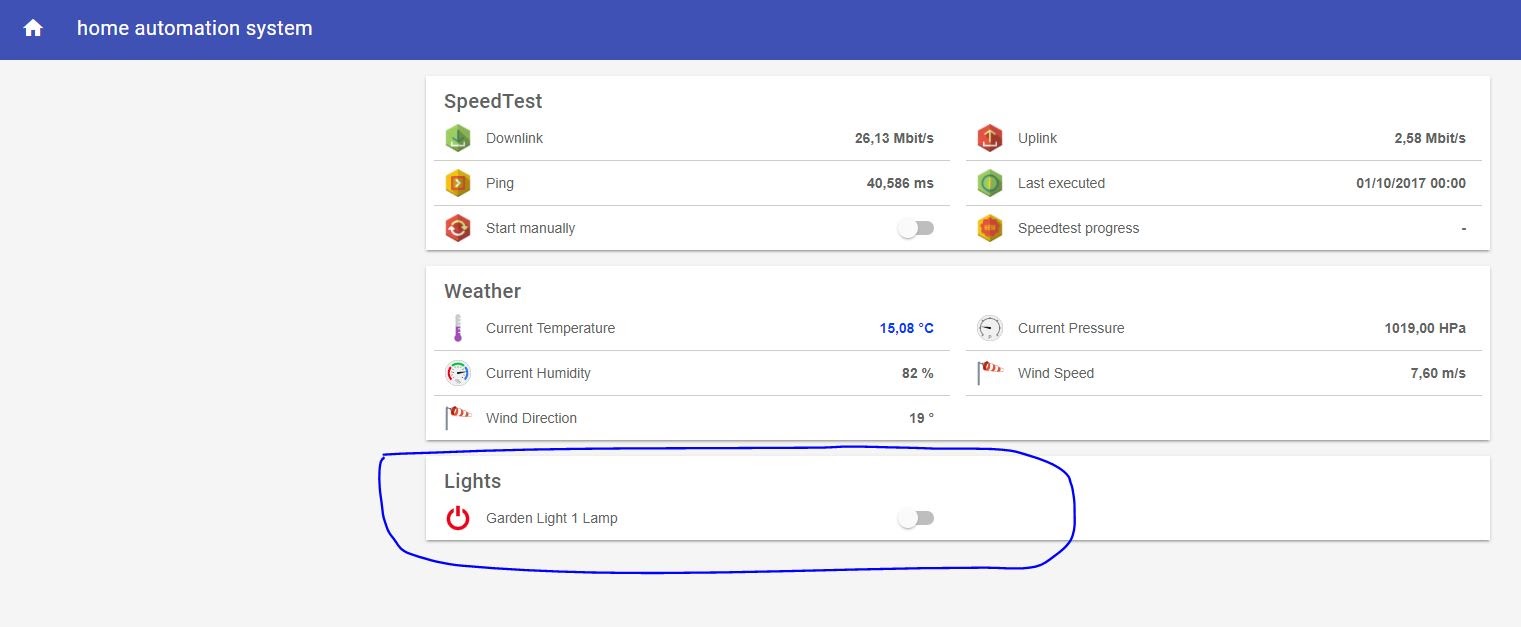
After saved this file, OpenHAB updated the sitemap and the "lights" section appears


Here is a short video about my test:


Monday 25 September 2017

Home Automation System - New Item: SONOFF Dev


A new mailbag...a brand new SONOFF Dev...bought directly from the iTead ecommerce website...for just 7 euros, shipping included.


In a few words it's an electronic device based on the famous ESP8266 chip.

It includes WiFi connectivity, 5 GPIO, 1 ADC, a serial port and 3.3V or 5V output pin. It already included a micro USB connector to plug in the PC or to connect an external 5V power supply. It supports Arduino IDE programming.

It has no default firmware and so you need a little programming knowledge.

In the next days I will do some test and then I'll try to integrate it in my Home Automation System, linking some sensors.

Wednesday 20 September 2017

Home Automation System - It's time for OpenHAB 2


Ok, I played a lot with hardware device :), now it's time to get involved in the "software" area of my Home Automation Project. Who read my previous posts already knows that I chose OpenHAB v.2 as my Home Automation System software; it's already installed on my new Raspberry PI3, as described in a previous post:


For me this is a new "world" and so I will follow the official documentation (http://docs.openhab.org/introduction.html) and the community too (https://community.openhab.org/) where you can find a lot of useful infos.

In simple words (and based on what I understood), OpenHAB v.2 makes a link between the devices (real or virtual...), called "things", and logical entity, called "items". The items will be used to manage the "Home Automation System".


From www.openhab.org

To integrate the real or virtual devices (things) in OpenHAB v.2 you can use Bindings, which are objects that make OpenHAB v.2 able to communicate with external device (real devices or simple Webservice or data providers...)

"Items" integration inside the user interfaces will be done using "Sitemaps", while "Rules" permit to manage events and automation logics

All data which will transit over the OpenHAB v.2 Communication Bus can be stored through persistence engine called "Persistence"

I will try to explain all of these concepts as I move forward with my configuration.

So, my system is ready to be configured and used. This is my software configuration on Raspberry PI3

OpenHAB v 2.1
Broker MQTT mosquitto, with auth
Grafana
InfluxDB, as persistence engine of OpenHAB
Reverse proxy SSL with auth, using NGINX , to securely expose on internet OpenHAB Grafana.


The standard configuration (choosing the "standard package" at the end of the setup) of openHAB v.2 modules is the following one:

- BASIC UI: responsive UI for the standard user; it is built using Sitemaps

- PAPER UI: UI for configuration purpose, not completed yet (mmany configurations part will be done directly using configuration files)

- HABPANEL: user UI, optimized for tablet


There are lots of others modules; see the ADDONS section of PAPER UI.

To complete the overview, two words about native mobile App


Windows OpenHAB App, also for Windows 10, but it seems a bit "young".


Ok, it's time to let OpenHAB v.2 doing its stuff

Just to become familiar, I will try something easy; later I will try to integrate SONOFF with MQTT.

First of all, I follow all the beginner tutorial, just to become familiar with the environment and having no real device like LIFX lamp or KNX device, I decide to integrate speedtest and weather data, provided by external services.

For speedtest integration, I followed this great tutorial https://community.openhab.org/t/speedtest-cli-internet-up-downlink-measurement-integration/7611; so I learned as you can edit configuration files. A lot of OpenHAB areas are involved:

 - addons / bindings: to let OpenHAB v.2 exec shell commands
 - items: object creation as speedtest data storage "device"; 
 - sitemaps: user UI, linked to the items
 - rules: automation rule just to collect speedtest data automatically

In other words, OpenHAB v.2 will run speedtest-cli shell script (a textual interface for the speedtest service) at regular time interval (I set a 2 hours refresh), stored its result in item objects and then link these items to a user UI.

This is the result on a new sitemap (Basic UI)


For weather service integration, I chose OpenWeatherMap (already knows it)

So, I followed again the official documentation (http://docs.openhab.org/addons/bindings/weather1/readme.html) and reach the target was not so difficult. This is my final result:


For the files configuration, I used Eclipse SmartHome Designer (http://docs.openhab.org/configuration/editors.html#esh-designer), a graphical editor which provides some facility.

Well, with these test I verified OpenHAB v.2 is a working system. In short time my OpenHAB v.2 will be able to lights up my garden lamp (I hope...)...thanks to MQTT


Monday 4 September 2017

Home Automation System - New items arrived...


During my configuration test, other "toys" arrived...

5 SONOFF Basic + a New Entry: 1 SONOFF Dual

The SONOFF DUAL is simply a double SONOFF basic: in fact it has two independent relays.

Here are my new toys, already labelled:


As usual, the first thing to do is test them with EWeLink, without open the case
The schematic is similar to the one of SONOFF POW; the terminal link are all on the same side 

There is no earth connection, but 3 pair of Phase / Neutral link, 1 for the INPUT Voltage and 2 for the OUTPUT.


Here is the activation procedure for my new SONOFF DUAL with EWeLink