Showing posts with label mqtt. Show all posts
Showing posts with label mqtt. Show all posts
Sunday, 6 December 2020

Wednesday, 2 December 2020
Home Automation System - OpenHAB v. 3 - 02. MQTT Test Part 1
This blog is no longer updated.
To read this post please visit
Friday, 26 October 2018
Home Automation System - Automating a floor lamp


Let's continue with my Home Automation System design, based on the wonderful OpenHAB
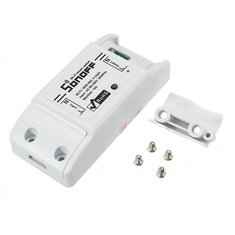
This time the main attraction is a simple floor lamp that will be trasformed in a SMART Device, using a Sonoff Basic.
These are my soldiers:

For those who don't know it, SONOFF is a simple "wifi button", which allows you to control electrical loads remotely. The Basic version is the simplest one with a single relay.
It seems a simple job...
I will replace the standard button with the SONOFF...so, I will cut the wires to move away the button from the lamp...and plug these wires in INPUT e OUTPUT pins of the SONOFF.
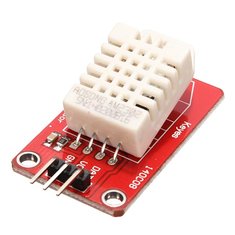
Let the things be a little more complicated: on TASMOTA (https://github.com/arendst/Sonoff-Tasmota/wiki/DHT11-Wiring---Sonoff-Basic), I learnt that it's possible to manage an humidity/temperature sensor, linked to a free pin inside the SONOFF (GPIO14). A compatible sensor is the DHT11 and, luckily, I own some of them.

This sensor has 3 pin, Vin, GND and OUT. So I link Vin and GND to the right SONOFF pins and OUT pin to the GPIO14 (always inside the sonoff)...To discover the right position of these pins, I used again the TASMOTA Wiki (https://github.com/arendst/Sonoff-Tasmota/wiki/GPIO-Locations)
Here are the wires soldered and protected by a heat-shrinking sheath


Now, I have to solder the other side of the wires to the DHT11...

Also here I used a heat-shrinking sheath ...these pins are very close

And here is the complete device...

Now I make an hole in the plastic case to let the wires get out


And here is the lamp with the SONOFF and the DHT11...

Now it's software time. Using the well known TASMOTA web interface, I selected the right sensor connected to the GPIO14.

Back to the home page, I noticed that the data acquired by the DHT11 is displayed on top of the page

Let's configure OpenHAB defining new items and the MQTT topic used by the SONOFF...
My MQTT topic will be smarthome/light_env/%topic%/%prefix%/
Looking to the TASMOTA console, I noticed a new prefix in the topic related to the temperature and humidity information:

This will be the topic which I'll use in the items definition.
Here is the result
Basic UI


And this is the switch for the lamp

-----------------------------------------------------
Similar items used in this project
-----------------------------------------------------
Friday, 5 October 2018
Home Automation System - Two PZEM-004T and a single ESP8266
After my successful experiments with the PZEM-004T and a Nodemcu ESP8266 aim to monitor power consumption (devices are actually working well in my ground floor power monitoring system, see https://domoticsduino.blogspot.com/2018/05/home-automation-system-energy.html), I decided to update my photovoltaic production monitoring system, actually based on a Wifi 433Mhz receiver (see https://domoticsduino.blogspot.com/2017/08/home-automation-system-mqtt-and-rf433.html).
Actual system has a problem due to an invalid read of power values when the inverter is switched off. In fact it gives me about 250W power production...
My idea is to use the same devices used for the ground floor power monitoring system...so a PZEM-004T and a Nodemcu ESP8266.
These are the devices:
 |
| NODEMCU ESP8266 |
 |
| PZEM-004T |
Because my inverter is near the electrical panel in the garage, I decided to let the things more complicated adding another PZEM-004T to also monitor the basement consumption with the same ESP8266.
Then I added also a temperature and humidity sensor to the same circuit.
My following step was to check that a single NODEMCU ESP8266 was able to control both PZEM-004T...My tests were successful
Here is it my first PZEM-004T linked to the main output cable of the inverter...on the right you can see the DHT11, temperature and humidity sensor (it's a not so accurate sensor, but it's right for my kind of measurement...)

This is the second PZEM-004T, linked to the main cable of basement power, inside the electrical panel

Complete view:

Now it's time to write the software and test it.
I decided names for the MQTT topics and I created items and sitemap objects for OpenHAB
This is what we could see in my OpenHAB BASIC UI

Energy Consumption value is the sum of all the sensor power (2 of them are already running)
Values are different related to the previous screenshot because they continuously change

Last step: I created some charts in the Grafana dashboard

My primary target was reached: my production monitor give about 0W when the inverter is switched off
Saturday, 1 September 2018
Home Automation System - SONOFF 4 Channel integration with OpenHAB

In the previous post, I spoke about my SONOFF 4 channel, describing the physical installation.
Now, this device will help me to drive 4 lights: 1 internal and 3 exterior; of course, OpenHAB will be my control system and MQTT will be the message protocol.
Let's go to setup the SONOFF, using its web interface

The first step will be to setup the module type, using the menù Configuration -> Configure Module

Then, in Configuration -> Configure MQTT, we will put the MQTT topic, splitted in TOPIC and FULLTOPIC as TASMOTA ask

In my case the device will use the following topic smarthome/sonoff4ch14/###. TASMOTA will replace ### with the type of message it will be sending (for example cmnd for commands, state for status information etc etc)
No more details on the other configuration options...they are the same as the other SONOFF
Now it's time for OpenHAB...we will add 4 items, one for each light.
Create a new file, called sonoff4ch.items, in the usual folder /etc/openhab2/items; in the file we will write the items configuration:

As you can see, MQTT topic is the same for all items. Only one thing changes...the property name, indexed by a number to indicate the relay number.
Finally, the last step: put the 4 items into a sitemap. So, write down 4 switch into the sitemap file

(these are the 3 items for exterior lights...)
And here is my complete sitemap:

Now let's push some buttons and see what happens.
Friday, 17 August 2018
Home Automation System - SONOFF 4 Channel
Finally I found a little time to continue my Home Automation System.
I already own a SONOFF 4 channel...I think the biggest one...
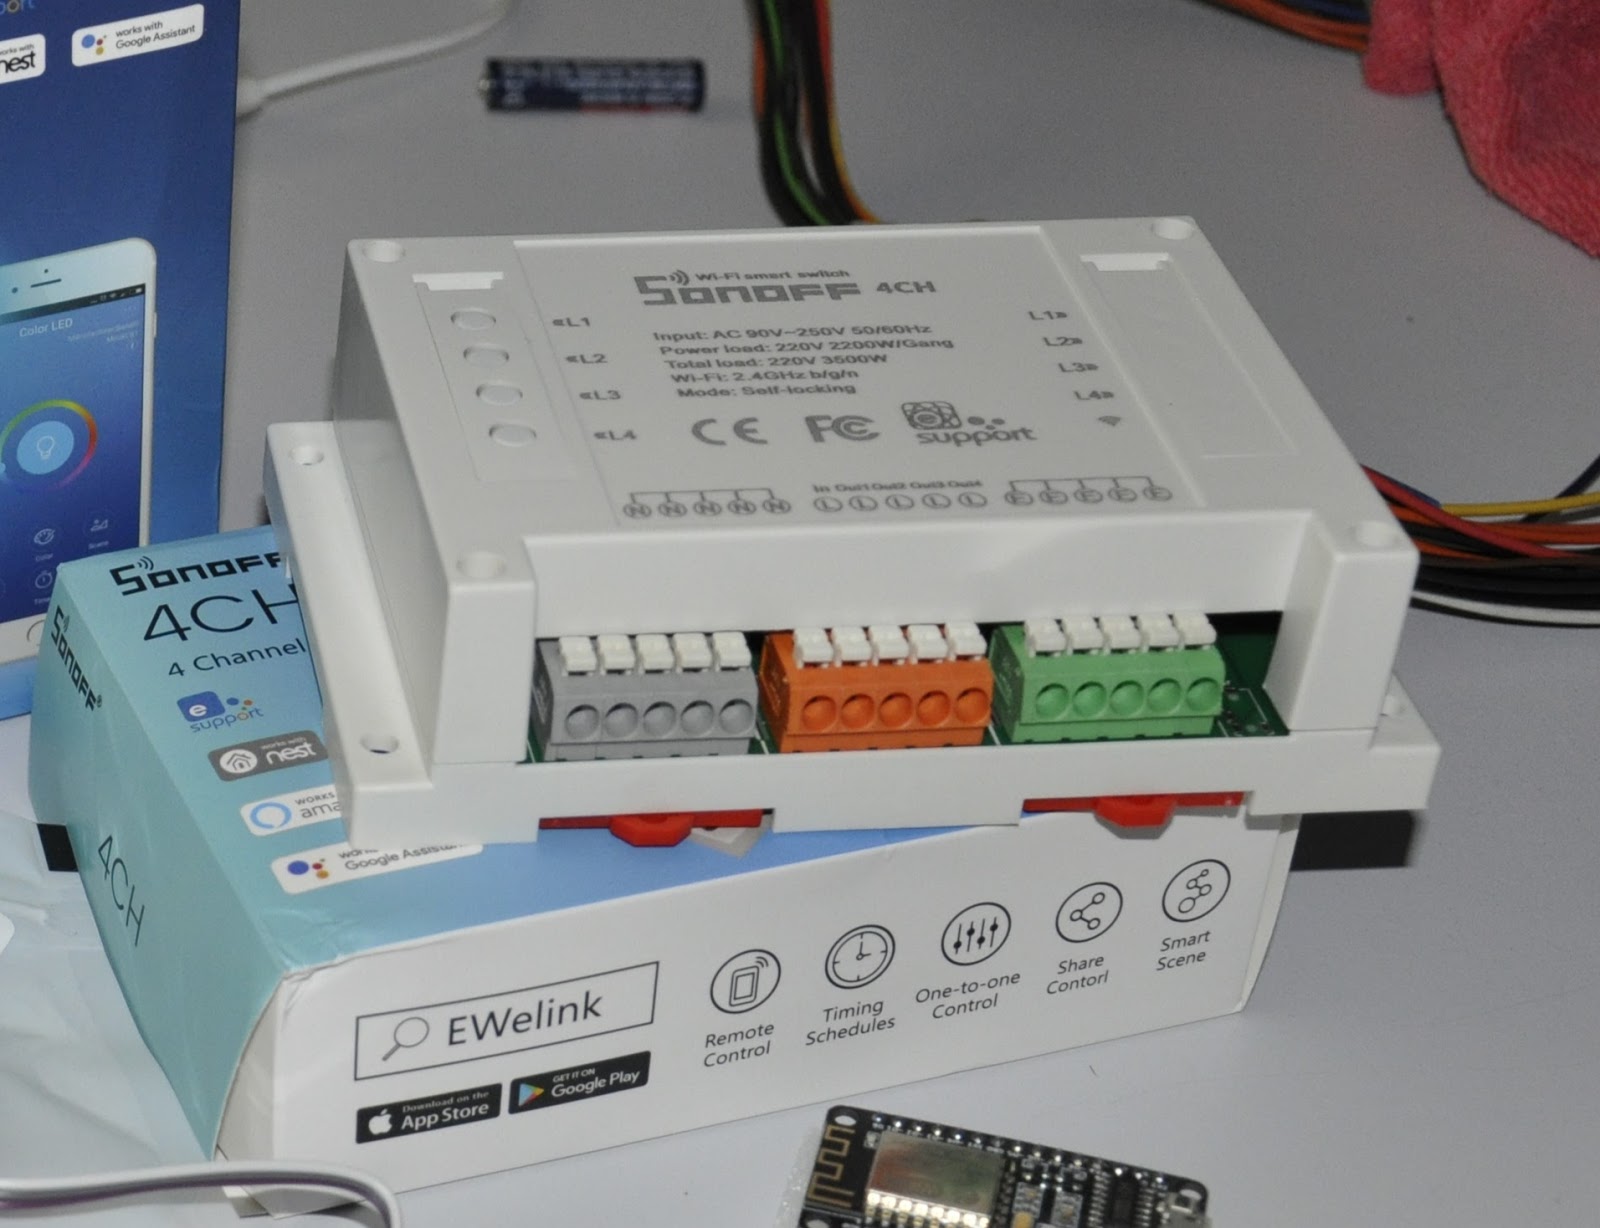
This device is able to drive 4 power outputs through a single Wifi connection. I will use it to power up my lights.
As well as input and output power connector,s it also has 4 pushbuttons which drive the 4 relays. Basically it's like 4 SONOFF Basic in a single device and with a single Wifi connection.
As usual I will use the TASMOTA firmware instead of the original one, which permits to use the device only through EWelink software. With TASMOTA firmware I'm able to easily integrate the device in OpenHAB using MQTT protocol.
Here is my SONOFF in flashing mode

As usual, it's easy to flash the firmware...just follow the official Wiki
Please, remember that this is an irreversible operation. You cannot recover the original firmware
In order to be able to control the SONOFF also through a traditional button, I decided to use the 4 pushbuttons integrated in the device... by connecting them appropriately to the buttons / wall switches ...
I never throw anything away and in this case a male / female old serial cable will be very useful to connect comfortably and plug and play the buttons / wall switches with the SONOFF buttons.
Thanks to Piero, we soldered the serial pins to the 4 pushbuttons on the SONOFF

getting the connector out of the SONOFF box

On the other side, we have an ethernet cable linked to the wall buttons

and we soldered to it the male serial connector

Ok, now it's time to configure the device to be integrated in OpenHAB through MQTT
Stay tuned...
Wednesday, 30 May 2018
Home Automation System - Energy consumption monitor...the definitive release
Several days have passed since my last post on the Home Automation System and we left a pending speech about the measurement of home consumption.
My prototipe works fine, so it's time to use it.
My final target is to build 3 power monitor, one for each floor. The first ready to use device is for the main floor.
I will plug the device where the main power cables arrive. So I plan to power on the 5V adapter for the ESP8266 and the PZEM-004T.
Here is the device linked to the main power cable and powered on:


Now, let's give a look to the MQTT messages, using mqtt-spy:

Perfect...all work as expected.

Now it's time for OpenHAB and Grafana.
I setup OpenHAB to get data as numerical variable, using the MQTT topic already defined. Then I edited my sitemap to view these data. Here is the result:

It's an interesting thing the comparison between production and consumption.
The last step is the visualization of historical data with Grafana, comparing production (green) and consumption (yellow):

Now, we just have to wait for other PZEM-004T...already ordered.
Stay tuned.
Subscribe to:
Posts (Atom)