Showing posts with label sonoff 4ch. Show all posts
Showing posts with label sonoff 4ch. Show all posts
Thursday, 23 April 2020

Sunday, 19 April 2020
Home Automation System - PZEM004T with SONOFF and TASMOTA
This blog is no longer updated.
To read this post please visit
Saturday, 1 September 2018
Home Automation System - SONOFF 4 Channel integration with OpenHAB


In the previous post, I spoke about my SONOFF 4 channel, describing the physical installation.
Now, this device will help me to drive 4 lights: 1 internal and 3 exterior; of course, OpenHAB will be my control system and MQTT will be the message protocol.
Let's go to setup the SONOFF, using its web interface

The first step will be to setup the module type, using the menù Configuration -> Configure Module

Then, in Configuration -> Configure MQTT, we will put the MQTT topic, splitted in TOPIC and FULLTOPIC as TASMOTA ask

In my case the device will use the following topic smarthome/sonoff4ch14/###. TASMOTA will replace ### with the type of message it will be sending (for example cmnd for commands, state for status information etc etc)
No more details on the other configuration options...they are the same as the other SONOFF
Now it's time for OpenHAB...we will add 4 items, one for each light.
Create a new file, called sonoff4ch.items, in the usual folder /etc/openhab2/items; in the file we will write the items configuration:

As you can see, MQTT topic is the same for all items. Only one thing changes...the property name, indexed by a number to indicate the relay number.
Finally, the last step: put the 4 items into a sitemap. So, write down 4 switch into the sitemap file

(these are the 3 items for exterior lights...)
And here is my complete sitemap:

Now let's push some buttons and see what happens.
Friday, 17 August 2018
Home Automation System - SONOFF 4 Channel
Finally I found a little time to continue my Home Automation System.
I already own a SONOFF 4 channel...I think the biggest one...
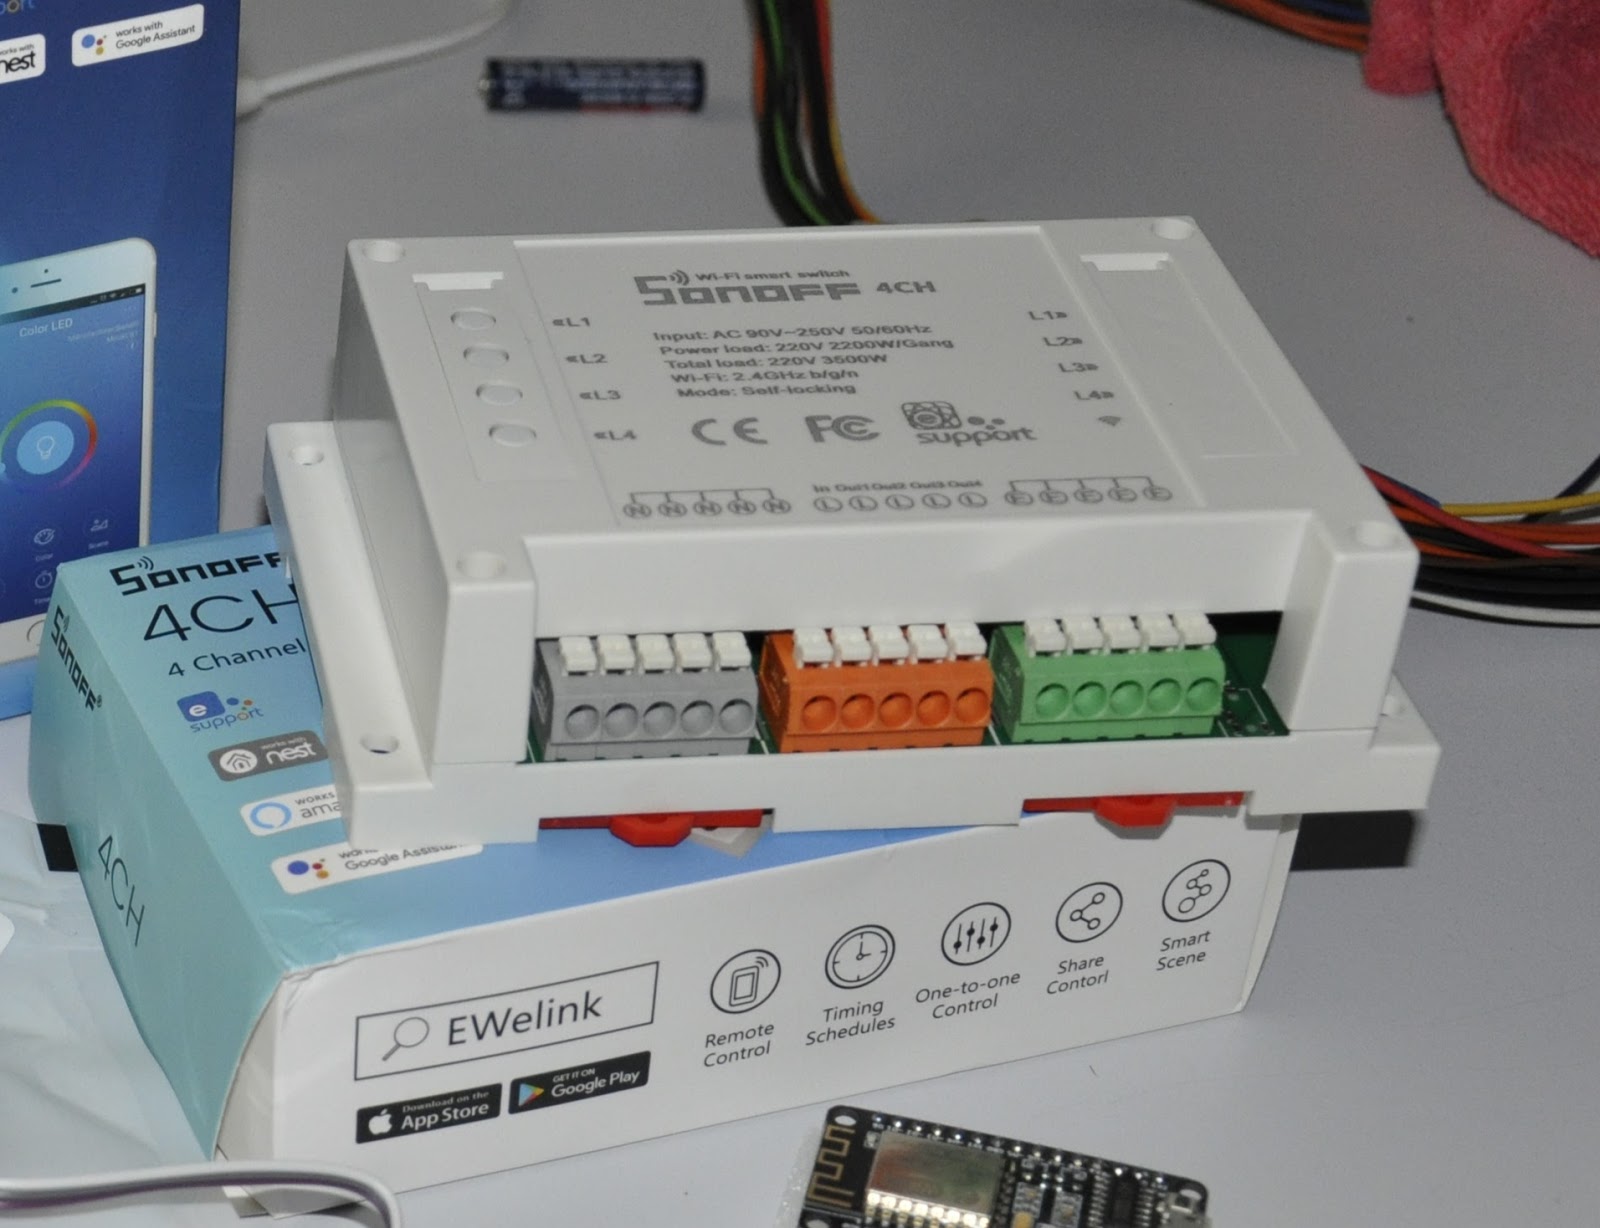
This device is able to drive 4 power outputs through a single Wifi connection. I will use it to power up my lights.
As well as input and output power connector,s it also has 4 pushbuttons which drive the 4 relays. Basically it's like 4 SONOFF Basic in a single device and with a single Wifi connection.
As usual I will use the TASMOTA firmware instead of the original one, which permits to use the device only through EWelink software. With TASMOTA firmware I'm able to easily integrate the device in OpenHAB using MQTT protocol.
Here is my SONOFF in flashing mode

As usual, it's easy to flash the firmware...just follow the official Wiki
Please, remember that this is an irreversible operation. You cannot recover the original firmware
In order to be able to control the SONOFF also through a traditional button, I decided to use the 4 pushbuttons integrated in the device... by connecting them appropriately to the buttons / wall switches ...
I never throw anything away and in this case a male / female old serial cable will be very useful to connect comfortably and plug and play the buttons / wall switches with the SONOFF buttons.
Thanks to Piero, we soldered the serial pins to the 4 pushbuttons on the SONOFF

getting the connector out of the SONOFF box

On the other side, we have an ethernet cable linked to the wall buttons

and we soldered to it the male serial connector

Ok, now it's time to configure the device to be integrated in OpenHAB through MQTT
Stay tuned...
Sunday, 29 October 2017
Home Automation System - New mailbag...
Last Friday, a new mailbag arrived...full of new stuffs from China...


Among the others, we have:
- a SONOFF B1, wifi controlled RGB lamp;
- a SONOFF 4Ch, wifi controlled relays (4);
- some temperature and humidity sensors DHT11
- some RF433 wireless transmitter and receiver
- a couple of ESP8266 NodeMCU
Keep going on...
Subscribe to:
Posts (Atom)